For outdoor cooking enthusiasts, owning a Lynx grill is often considered the pinnacle of backyard culinary experiences.
These high-end appliances are renowned for their durability, sleek design, and professional-grade performance.
However, even the most robust machinery can encounter hiccups over time.
Whether it’s a burner that refuses to light or a temperature gauge that seems to have a mind of its own, dealing with grill malfunctions can put a damper on your barbecue plans.
Troubleshooting these issues doesn’t always require a call to a professional technician.
Many common problems stem from simple maintenance oversights or wear-and-tear components that can be addressed with a little know-how.
Understanding the inner workings of your grill not only saves you money on repairs but also extends the lifespan of your investment, ensuring you get perfectly seared steaks and juicy burgers for years to come.
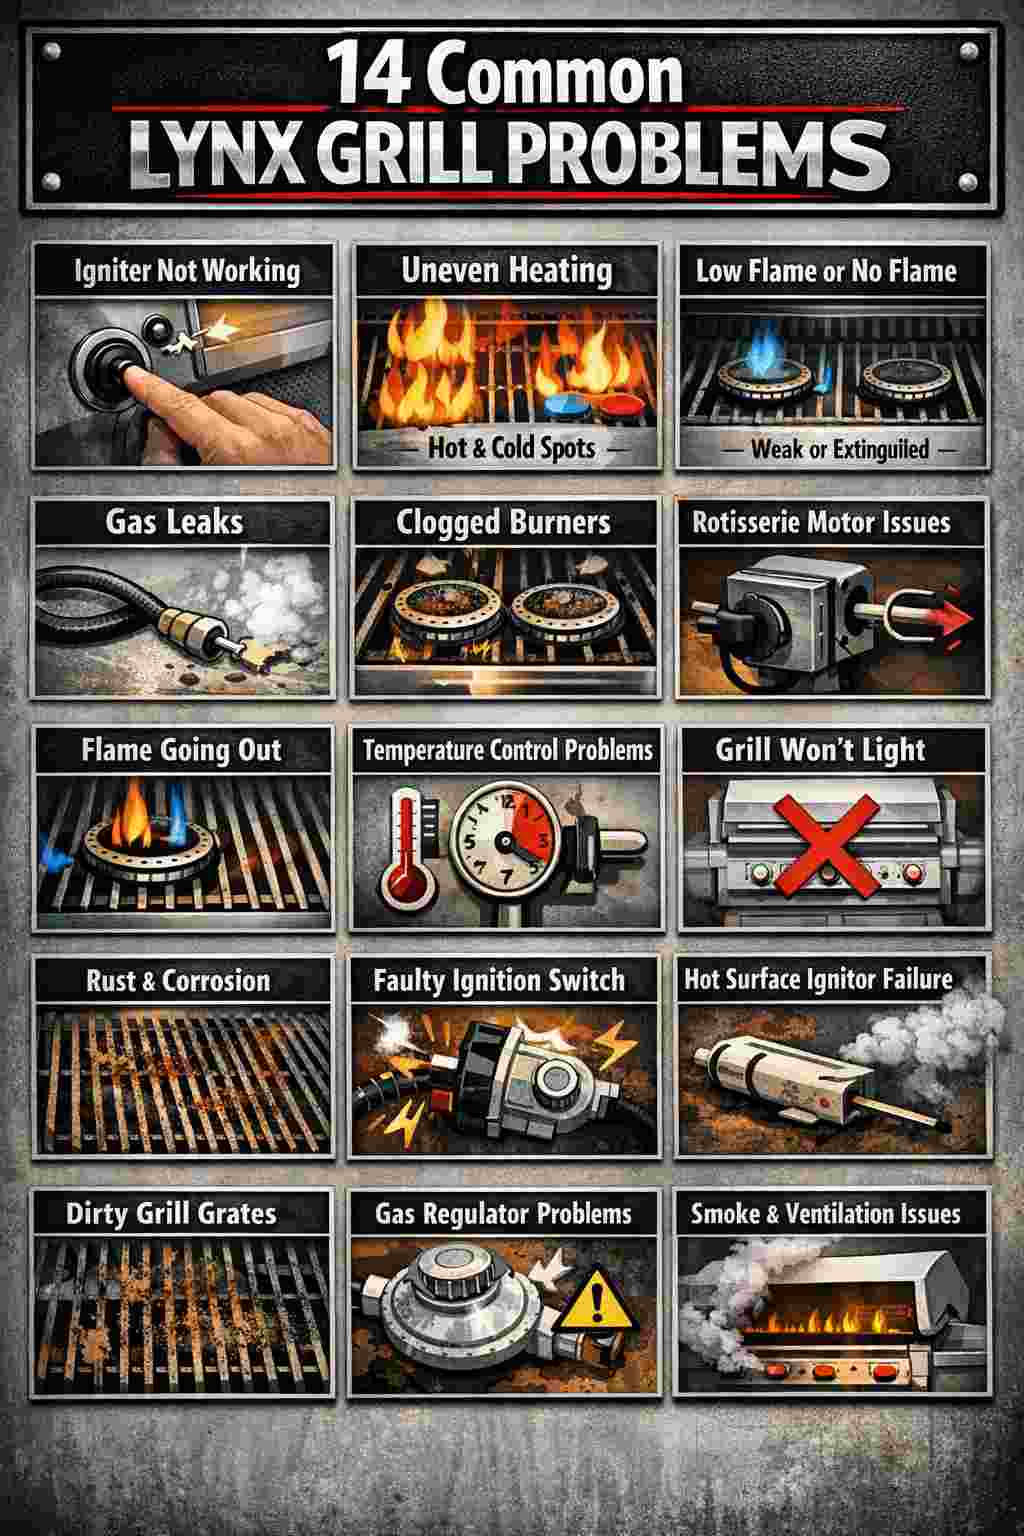
In this comprehensive guide, we will walk you through 14 common Lynx grill problems and provide practical, step-by-step fixes.
From ignition failures to uneven heating, we cover the full spectrum of potential issues to get you back to grilling as quickly as possible.
1. The Grill Won’t Ignite
One of the most frustrating issues is turning the knob and hearing… silence. If your Lynx grill isn’t igniting, the problem usually lies within the electrical system or gas flow.
The Fix:
First, check your power source. If your model uses a battery-operated igniter, swap out the old battery for a fresh one. For plug-in models, ensure the outlet is functioning and the GFCI hasn’t tripped. If power isn’t the issue, inspect the electrodes. Over time, grease and debris can coat the electrode, preventing a spark. Clean the tip gently with a cotton swab and rubbing alcohol. Finally, verify that you have gas flow by checking your propane tank level or natural gas line valve.
2. Low Flame or Low Heat Output
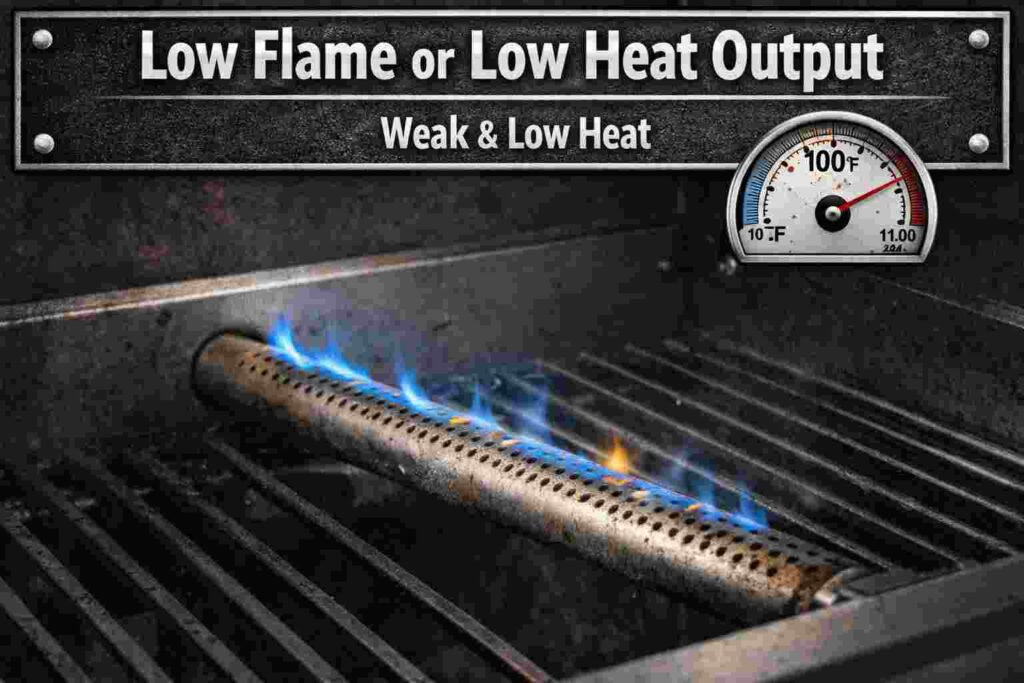
You’ve set the dial to “High,” but the flame looks weak and barely touches the grates. This issue often results in food that is steamed rather than seared.
The Fix:
This is frequently caused by the regulator’s safety mechanism, known as “bypass mode,” which restricts gas flow if it detects a leak. To reset it, turn off the grill burners and the propane tank valve. Disconnect the regulator from the tank. Wait for about two minutes, then reconnect it. Open the tank valve slowly to allow pressure to equalize before turning on the burners. If this doesn’t work, check your burners for clogs caused by spider webs or debris.
Read Also: (10 Common Reasons) Green Mountain Grill Getting Too Hot
3. Uneven Heating on the Grates
Hot spots and cold zones can ruin a meal, leaving some burgers charred while others are raw. Lynx grills are designed for even heat distribution, so this usually indicates a blockage.
The Fix:
Remove the grates and briquette trays. Inspect the burners for blocked ports. Use a paper clip or a small wire brush to clear out any clogged holes along the burner tubes. Also, check the ceramic briquettes. If they are heavily soiled with grease or are crumbling, they may not be radiating heat effectively. Flip dirty briquettes over to burn off residue or replace broken ones.
Read Also: (10 Reasons) Traeger Silverton 810 Problems (With Fixes)
4. The Rotisserie Motor Isn’t Turning
The rotisserie feature is a standout component of Lynx grills, perfect for slow-roasting poultry. If the motor hums but doesn’t spin, or is completely dead, your dinner plans might be stalled.
The Fix:
Ensure the motor is plugged into a working outlet. If it is receiving power but not spinning, the gears inside might be stripped or jammed. Sometimes, the issue is simply that the spit rod is overloaded or unbalanced. Try rebalancing the meat on the spit. If the motor is still unresponsive, the unit likely needs to be replaced.
5. Excessive Flare-ups
While a little flame-kissed flavor is desirable, constant, aggressive flare-ups can burn food and become a safety hazard.
The Fix:
Flare-ups are almost always caused by excess grease buildup. When fat drips onto hot components, it catches fire. The solution is a deep clean. Remove the grates and briquette trays. Scrape down the interior of the firebox and clean the drip tray. To prevent this in the future, trim excess fat from your meat before grilling and keep the briquette trays clean.
6. The Burner Only Lights with a Match
If the electronic ignition fails but the burner lights manually with a match, you know you have gas flow, narrowing the problem down to the spark system.
The Fix:
Listen for a clicking sound when you press the igniter. If you don’t hear it, the ignition module or switch might be faulty. If you do hear clicking but see no spark, check the wiring connecting the module to the electrode. Loose or corroded wires can interrupt the circuit. Reconnect any loose wires or clean corrosion with a wire brush.
7. Yellow or Orange Flames
A healthy gas flame should be blue with a tiny yellow tip. If your flames are predominantly yellow or orange, it indicates an improper air-to-gas mixture.
The Fix:
This usually means the burners are not getting enough air. Located at the front of the burner is an air shutter. You can adjust this to allow more oxygen into the mix. Loosen the screw holding the shutter and rotate it slightly open until the flame turns blue. Be careful not to open it too wide, or the flame might lift off the burner.
8. Smelling Gas (Leakage)
The smell of gas is a serious safety concern that should never be ignored. It suggests a leak in the connection or the hose.
The Fix:
Immediately turn off the gas supply. Mix a solution of water and dish soap. Brush this solution over the hose, regulator, and connections. Turn the gas on slowly (without lighting the grill). If you see bubbles forming, you have a leak at that spot. Tighten connections or replace the damaged hose/regulator. Do not use the grill until the leak is fixed.
9. Stuck Control Knobs
Control knobs that refuse to turn or feel “gummy” can make operating the grill difficult and imprecise.
The Fix:
This is typically caused by grease and grime working their way into the valve stem. Pull the knob off the stem. Spray a small amount of penetrating oil or silicone lubricant into the valve stem area. Work the stem back and forth gently with a pair of pliers (using a cloth to protect the metal) until it moves freely. Clean the knob thoroughly before replacing it.
10. The Infrared Burner (ProSear) Won’t Light
Lynx’s ProSear infrared burner is fantastic for searing, but the ceramic mesh can sometimes be delicate or prone to clogging.
The Fix:
If the ProSear won’t light, it might be wet or clogged. If it has rained recently or you’ve just cleaned the grill, let the burner dry out completely. If it’s dry, check the ceramic tile for cracks. A cracked burner cannot be repaired and must be replaced. Ensure the mesh screen is intact and free of debris.
11. Rust on Stainless Steel Components
Despite being made of high-quality stainless steel, surface rust can appear, especially in coastal environments or if harsh chemicals are used.
The Fix:
Never use steel wool, which can scratch the finish and promote more rust. Instead, use a dedicated stainless steel cleaner and a non-abrasive pad (like a Scotch-Brite pad). Scrub in the direction of the grain. For tougher spots, a paste of baking soda and water can help lift the oxidation. Rinse thoroughly and apply a stainless steel polish to protect the surface.
12. Thermometer is Inaccurate
If your dome thermometer reads 500°F but your steak is barely sizzling, the gauge is likely out of calibration or broken.
The Fix:
Remove the thermometer from the hood. Place the stem in a pot of boiling water. It should read approximately 212°F (100°C). If it’s off, look for a calibration screw on the back of the dial. Turn it until the needle hits 212°F. If there is no calibration screw or it remains stuck, replace the thermometer.
13. Whistling Noise from the Regulator
A high-pitched whistling or humming sound coming from the regulator area can be annoying, though it’s not always a sign of danger.
The Fix:
This noise is often caused by air trapped in the hose or the rubber diaphragm inside the regulator vibrating. Try adjusting the flow by turning the burners down and then back up. Repositioning the hose to eliminate sharp bends can also help. If the noise persists and is accompanied by a smell of gas, perform a leak test immediately.
14. Grill Lights Keep Burning Out
Lynx grills often feature halogen lights for night grilling. If you find yourself constantly replacing bulbs, it might not be the bulb’s fault.
The Fix:
When replacing halogen bulbs, never touch the glass with your bare fingers. The oils from your skin create hot spots on the glass, causing the bulb to shatter or burn out prematurely. Always use a tissue or cloth when handling new bulbs. Additionally, check the light housing for moisture intrusion, which can short out the electrical contacts.
Keeping Your Lynx Grill in Peak Condition
Troubleshooting common Lynx grill problems doesn’t have to be intimidating. By systematically checking the basics—power, gas flow, and cleanliness—you can resolve the majority of issues without professional help. Regular maintenance is key; a clean grill is a reliable grill.
Remember that while DIY fixes are effective for minor issues, safety should always be your priority. If you smell gas that you can’t trace, or if electrical components seem damaged beyond a simple wire cleaning, it is time to call a certified technician. With proper care and attention, your Lynx grill will remain the centerpiece of your outdoor kitchen, ready to fire up whenever hunger strikes.
Frequently Asked Questions (FAQs)
How often should I clean my Lynx grill to prevent these problems?
You should perform a light cleaning (brushing grates and wiping down the exterior) after every use. A deep cleaning, which involves removing burners and vacuuming the interior, should be done at least twice a year, or more frequently if you grill often.
Why is my Lynx grill smoking excessively?
Excessive smoke is usually caused by leftover grease burning off from the briquettes or the bottom of the firebox. A deep clean of the internal components will resolve this. It could also be due to grilling very fatty foods; try moving them to a cooler part of the grill to minimize smoke.
Can I use oven cleaner on my Lynx grill?
It is generally not recommended to use harsh oven cleaners on the inside or outside of a Lynx grill, as they can damage the stainless steel finish and leave chemical residues. Stick to mild dish soap, warm water, and cleaners specifically designed for stainless steel grills.
My Lynx grill igniter clicks but won’t light. What else could it be?
If you have a spark and gas flow but no flame, the electrode might be misaligned. The spark needs to jump to a specific spot on the burner to ignite the gas. Check your manual for the correct gap distance (usually about 1/8 to 3/16 of an inch) and gently bend the electrode tip into the correct position.
Where is the reset button on a Lynx grill regulator?
Most standard propane regulators do not have a physical “reset button.” To reset the regulator, you must turn off the gas at the tank, disconnect the hose, turn the burner knobs to high (to bleed remaining pressure), turn them off again, reconnect the hose, and slowly open the tank valve.